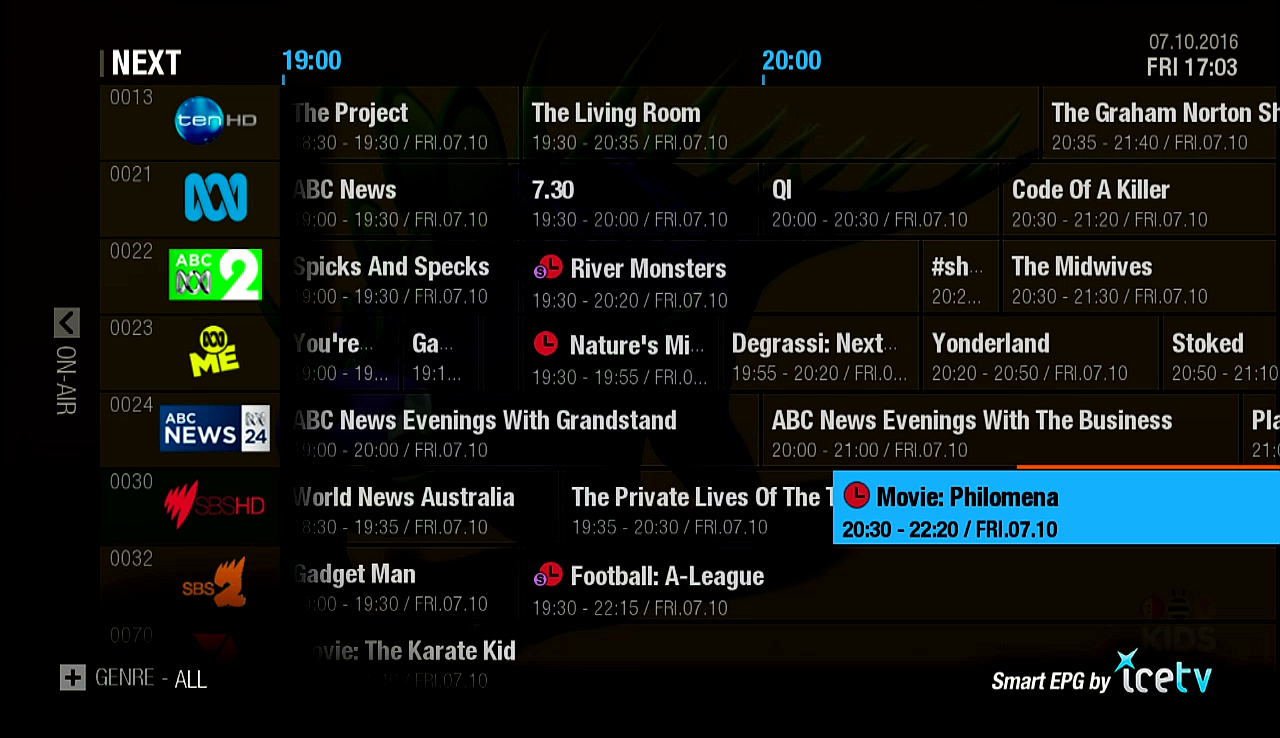
These steps will guide you through enabling the IceTV Guide on a Humax 2tune (HDR-3000T) that is already setup and in use but is not using the IceTV Guide.
- If you have a new Humax 2tune that has not been turned on yet and you already have an IceTV account you need to follow the existing user setup steps at this link. Note: If you purchased the Humax 2tune from IceTV an IceTV account has been created for you during the purchase using the email address and password supplied by you.
- If you have a new Humax 2tune that has not been turned on yet and you do NOT have an IceTV account, and you did not purchase the Humax HDR-3000T from IceTV, you need to follow the new user setup steps at this link.
If you have any questions please contact Customer Service.

Contents
Existing IceTV Users
These steps are for people that already have an IceTV account. This includes people who purchased the Humax 2tune from IceTV as an IceTV account was created during the purchase, using the email address and password supplied.
- To ensure none of the following menus are greyed out make sure you stop any recordings, playback or timeshifting and exit any apps, catch-up TV and Netflix etc. If you have any recordings that are due to start soon you might have to wait to do these steps after the recording has finished.
- Press the Home button on the remote control.
- Press the Up arrow button to highlight settings in the top right corner then press OK.
- Scroll down to 'PVR Settings' and press OK.
- Press OK on 'EPG Type' and then OK again.
- Select 'IceTV Premium EPG' and press OK. If there is no IceTV option please update the software on your Humax 2tune to the latest version.
- Press OK on the IceTV information screen, then answer Yes to the warning.
- Select 'Existing User' and press OK.
- Click OK on the 'Email Address' box then use the onscreen keyboard to type the email address that is in your IceTV account.
- Select the OK button on the onscreen keyboard and press OK to save your email address.
- Select the 'Password' box and press OK then use the onscreen keyboard to slowly type your IceTV password. Wait for each typed character to change to an asterisk before typing the next character.
- Select the OK button on the onscreen keyboard and press OK to save your password.
- Select 'Continue' and press OK.
- You can change the 'Label' or leave it as 2tune, then select 'Continue' and press OK.
- One the 'Setup is complete...' screen press OK and you are finished.
- Press the Exit button to return to live TV.
Just a few more settings to adjust:
You should check that you have timer padding and other important options set optimally. See this page for further information.
New IceTV Users
These steps are for people that do NOT have an IceTV account yet.
Note: If you purchased the Humax 2tune from IceTV an IceTV account has been created for you during the purchase, using the email address and password supplied by you, so follow the steps in the section above.
- To ensure none of the following menus are greyed out make sure you stop any recordings, playback or timeshifting and exit any apps, catch-up TV and Netflix etc. If you have any recordings that are due to start soon you might have to wait to do these steps after the recording has finished.
- Press the Home button on the remote control.
- Press the Up arrow button to highlight settings in the top right corner then press OK.
- Scroll down to 'PVR Settings' and press OK.
- Press OK on 'EPG Type' and then OK again.
- Press OK on the currently selected 'EPG Type'.
- Select 'IceTV Premium EPG' and press OK. If there is no IceTV option please update the software on your Humax 2tune to the latest version.
- Press OK on the IceTV information screen, then answer Yes to the warning.
- Select 'New User' and press OK, then answer Yes.
- Click OK on the 'Email Address' box then use the onscreen keyboard to type the email address that want to be used for your IceTV account.
- Select the OK button on the onscreen keyboard and press OK to save your email address.
- Select the 'Password' box and press OK then use the onscreen keyboard to slowly type a new IceTV password of 5 or more characters. Wait for each typed character to change to an asterisk before typing the next character.
- Select the OK button on the onscreen keyboard and press OK to save your password.
- Select the 'Confirm Password' box and press OK then use the onscreen keyboard to slowly type the same IceTV password again. Again, wait for each typed character to change to an asterisk before typing the next character.
- Select the OK button on the onscreen keyboard and press OK to save the confirmation password.
- Select 'Continue' and press OK.
- Press OK on Region, scroll down to your TV region then press OK.
- Select 'Continue' and press OK.
- You can change the 'Label' or leave it as HDR3000T, then select 'Continue' and press OK.
- The Humax 2tune will now create your IceTV account and download the TV Guide.
- One the 'Setup is complete...' screen press OK and you are finished.
- Press the Exit button to return to live TV.
Just a few more settings to adjust:
You should check that you have timer padding and a few other important options set optimally. See this page for further information.

0 Comments